
A natural body scrub at home is one of the most effective ways to exfoliate, moisturize, and restore your skin’s glow using ingredients you already own. Sugar, salt, coffee grounds, coconut oil, and a few drops of essential oil are all you need to build a scrub that rivals anything on a store shelf. Jermaphobi4me has seen firsthand how simple, clean ingredients outperform synthetic formulas for everyday skin care. This guide covers exactly what to use, how to mix it, and how to store it safely so your scrub works every time.
What ingredients and tools do you need for a natural body scrub at home?
The best ingredients for scrubs fall into two categories: abrasives that remove dead skin and oils that replenish moisture. Getting both right is what separates a scrub that feels luxurious from one that just feels gritty.
Exfoliating agents
Sugar acts as a mild glycolic acid source, making it the gentlest option for sensitive or dry skin. Brown sugar is softer than white and dissolves faster, which limits the risk of micro-tears. Salt, particularly kosher or sea salt, delivers more intense exfoliation and carries trace minerals that benefit oily skin. Coffee grounds sit between the two in terms of grit and add antioxidant properties that temporarily brighten skin tone.
Carrier oils and additives
Coconut oil, sweet almond oil, and jojoba oil are the three most reliable carrier oils for homemade scrubs. Coconut oil is solid at room temperature and melts on contact with skin. Sweet almond oil absorbs quickly without leaving a heavy residue. Jojoba oil closely mimics the skin’s natural sebum, making it a smart pick for combination skin. Optional additives include raw honey, which has natural antibacterial properties, and finely ground oats, which soothe irritated or reactive skin.
Essential oils and safety limits
Limit essential oils to 12 drops per ounce of carrier oil and use no more than five different oils in a single blend. That limit exists because concentrated essential oils can cause skin sensitization when overused. Popular choices include lavender for calming, peppermint for stimulation, and tea tree for its antimicrobial properties.
Tools you need
- A clean glass or stainless steel mixing bowl
- Measuring spoons (tablespoon and teaspoon)
- Airtight glass jars for storage
- A dry, clean spoon dedicated to scooping
| Ingredient | Role | Best for |
|---|---|---|
| Brown sugar | Gentle abrasive, glycolic acid source | Sensitive and dry skin |
| Sea salt | Intense exfoliant, mineral-rich | Oily and normal skin |
| Coffee grounds | Antioxidant abrasive, circulation boost | Normal and dull skin |
| Coconut oil | Moisturizing base, antimicrobial | Dry and combination skin |
| Jojoba oil | Sebum-mimicking carrier | Combination and oily skin |
Pro Tip: Buy your carrier oils from a chemical-free body wash supplier or a dedicated natural beauty retailer to confirm purity. Grocery-store oils labeled “for cooking” often contain additives that irritate skin.
How do you make natural body scrubs at home step-by-step?
Making a homemade exfoliating scrub takes about ten minutes. The process is straightforward, but the ratios and resting time make a real difference in the final product.
The right texture
A 4 to 5 parts abrasive to 1 part oil ratio produces the ideal wet-sand consistency. The mixture should hold its shape when pressed but crumble apart easily. Too much oil makes the scrub runny and reduces exfoliation. Too little oil makes it scratchy and hard to spread.
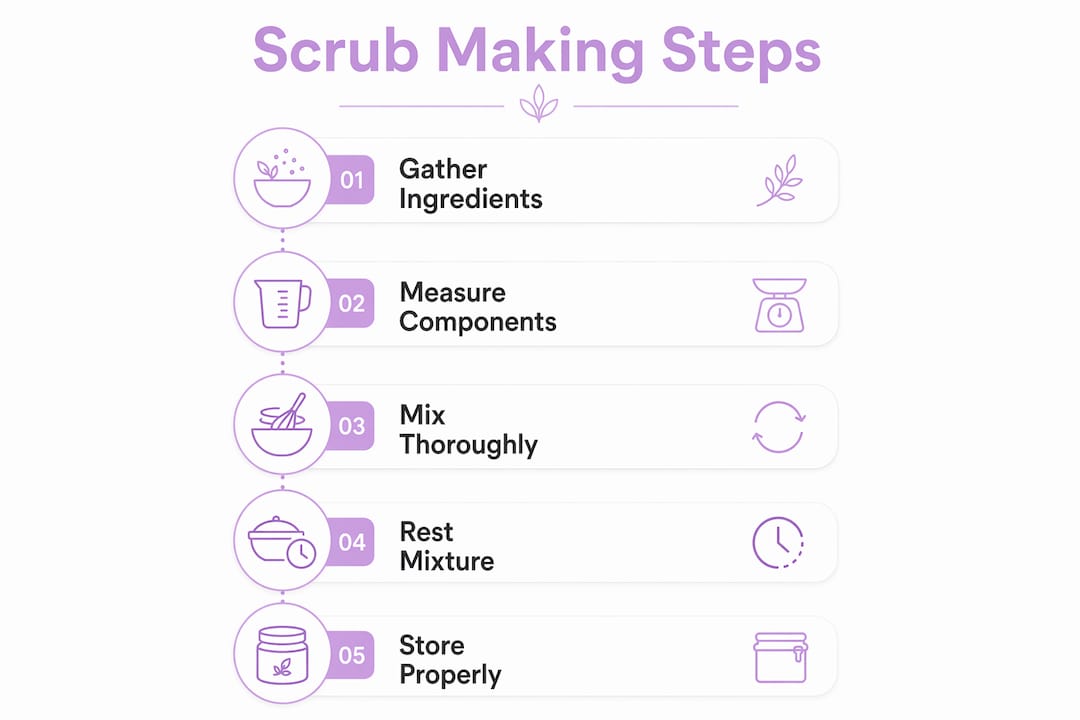
Step-by-step mixing instructions
- Measure your abrasive into the mixing bowl. Start with one cup of sugar or salt.
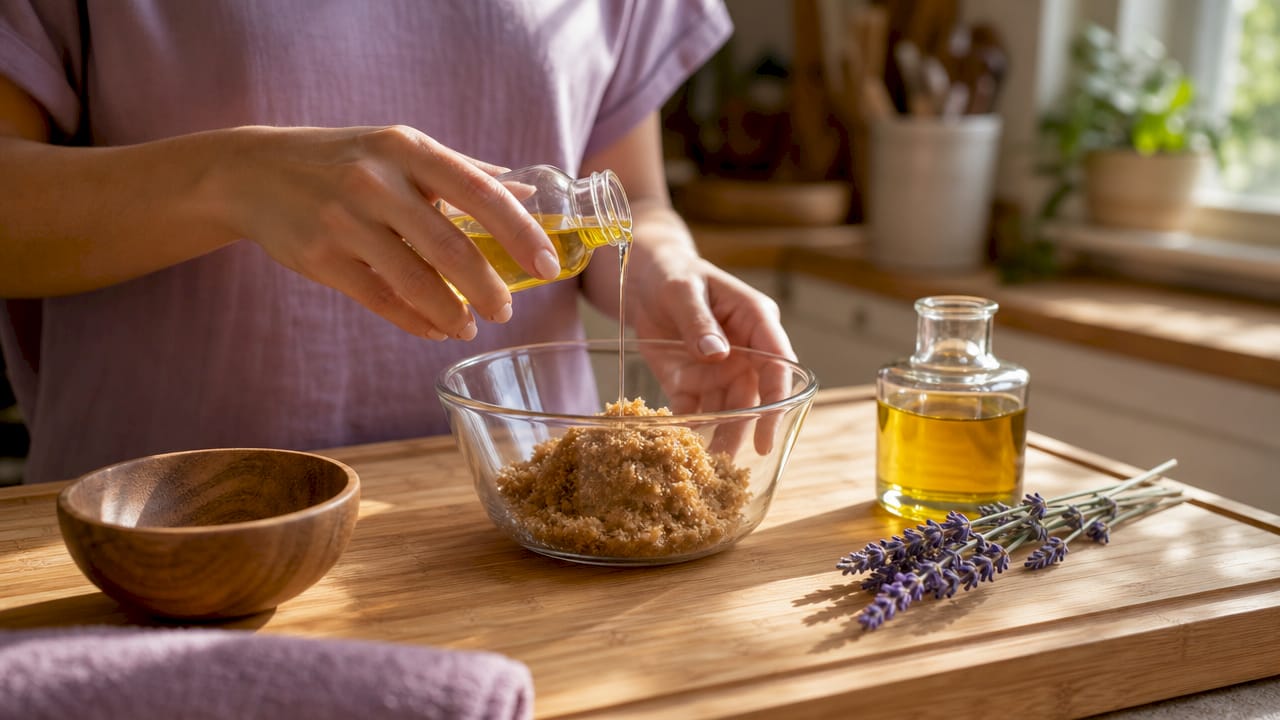
- Add your carrier oil slowly, one tablespoon at a time, stirring between each addition. Stop when the texture resembles wet sand.
- Add your essential oils last, staying within the 12-drops-per-ounce limit. Stir thoroughly to distribute evenly.
- Fold in any optional additives such as honey or oats at this stage.
- Transfer the mixture to a clean, dry glass jar and seal it tightly.
- Let the jar rest for 48 hours before first use so the essential oils and botanicals fully infuse into the base. This step noticeably improves both fragrance and skin feel.
Storage rules that prevent spoilage
- Store your jar in the refrigerator if your recipe includes honey, fresh citrus zest, or any water-based ingredient.
- Homemade scrubs last up to one month refrigerated without preservatives. Spoilage accelerates the moment water enters the jar.
- Label each jar with the date you made it. Discard anything that smells off or shows visible mold.
- Keep the storage jar out of the shower entirely.
Pro Tip: Prevent contamination by scooping your single-use portion into a small separate container before you step into the shower. This one habit extends the shelf life of your batch significantly.
What are the best natural body scrub recipes for different skin types?
Matching your DIY body scrub recipe to your skin type is what makes the difference between a scrub that helps and one that irritates. The abrasive you choose matters more than any other variable.
Comparison of scrub types by skin need
| Skin type | Best abrasive | Best carrier oil | Key benefit |
|---|---|---|---|
| Sensitive or dry | Brown sugar | Sweet almond oil | Gentle glycolic exfoliation, deep moisture |
| Oily or acne-prone | Fine sea salt | Jojoba oil | Mineral detox, pore clearing |
| Normal or dull | Coffee grounds | Coconut oil | Antioxidant boost, circulation |
| Reactive or irritated | Finely ground oats | Jojoba oil | Soothing, anti-inflammatory |
Three starter recipes
Sensitive skin sugar scrub: Combine half a cup of brown sugar with two tablespoons of sweet almond oil and five drops of lavender essential oil. This is the most forgiving recipe for beginners and works well on arms, legs, and décolletage.
Oily skin salt scrub: Mix half a cup of fine sea salt with two tablespoons of jojoba oil and five drops of tea tree essential oil. Salt is harsher but beneficial for oily skin because its mineral content helps regulate sebum production. Never use this recipe on freshly shaved skin or any area with open cuts.
Coffee circulation scrub: Combine half a cup of used coffee grounds with two tablespoons of coconut oil and four drops of peppermint essential oil. Circular massage motions during application boost blood circulation and help the skin absorb the nourishing oils more effectively.
One firm rule applies to all three recipes: avoid scrubbing inflamed or broken skin. Mechanical friction worsens active acne, eczema flares, and open wounds. DIY scrubs are not a substitute for professional dermatological care when chronic skin conditions are involved.
How to use and maintain your homemade scrub safely
Knowing how to apply your scrub correctly matters as much as the recipe itself. Overuse and poor technique are the two most common reasons people get irritated skin from otherwise good formulas.
Application technique
Apply your scrub to damp skin using gentle circular motions. Spend about 30 seconds per area, working from the feet upward. Rinse thoroughly with warm water and pat skin dry. Follow immediately with a moisturizer while your pores are still open from the warmth.
Exfoliating no more than once or twice per week prevents irritation and stops your skin from overproducing oil in response to friction. More frequent use strips the skin barrier faster than it can repair itself. If you practice a double cleansing routine, schedule your scrub on the same day as your second cleanse to avoid layering too many active steps.
Common mistakes to avoid
- Scrubbing too hard. Pressure does not improve results. Light, consistent circular motion is more effective than aggressive rubbing.
- Using a scrub right after shaving. Freshly shaved skin has micro-abrasions that salt and sugar will sting and inflame.
- Introducing water into the storage jar. This is the single fastest way to grow bacteria in your batch.
- Skipping sun protection after exfoliation. Freshly exfoliated skin is more sensitive to UV exposure. Apply SPF 30 or higher if you scrub in the morning.
“The scrubbing massage technique is as important as the ingredients themselves. Proper circular motion increases circulation and improves how well the skin absorbs nourishing oils.” — skincare aesthetics research
Pro Tip: If your skin feels tight or looks red after a scrub, switch to a finer abrasive and reduce your session to once a week. Redness is a signal, not a sign that the scrub is working harder.
Key takeaways
A natural body scrub works best when the abrasive matches your skin type, the oil-to-abrasive ratio holds at 4 to 5 parts abrasive to 1 part oil, and the jar never touches shower water.
| Point | Details |
|---|---|
| Match abrasive to skin type | Use brown sugar for sensitive skin, sea salt for oily skin, and coffee grounds for normal skin. |
| Follow the 4:1 ratio | Four to five parts abrasive to one part oil produces the ideal wet-sand texture. |
| Limit essential oils | Use no more than 12 drops per ounce of carrier oil and blend a maximum of five oils. |
| Rest the scrub 48 hours | Aging the mixture before first use improves fragrance and therapeutic effect. |
| Protect from water | Scoop single-use portions into a separate container to prevent bacterial contamination. |
Why I stopped buying store scrubs and never looked back
I spent years buying body scrubs with ingredient lists I could not pronounce. The switch to making my own was not ideological. It was practical. Once I realized a cup of brown sugar, two tablespoons of coconut oil, and a few drops of lavender produced results I preferred over a $30 jar, the decision was obvious.
The part most articles skip is how much the 48-hour rest period changes the final product. I skipped it the first few times and wondered why my scrubs smelled flat. Letting the essential oils bind to the carrier oil overnight transforms the fragrance from sharp to rounded and noticeably improves how the skin feels after rinsing.
My honest advice: start with one recipe, make it three times before you change anything, and keep a small notebook of what you adjusted and why. Skin responds differently to the same ingredients depending on season, hydration level, and hormonal cycles. What works in January may need tweaking in July. That kind of customization is something no commercial product can offer you.
One thing I will not compromise on is contamination control. Keeping a clean preparation area and using dry tools every single time is not optional. A spoiled batch does not just smell bad. It can cause skin reactions that take weeks to resolve. Treat your scrub jar like you treat your food. Keep it clean, keep it cold when needed, and replace it on schedule.
— Gimmi
Upgrade your natural skincare routine with Jermaphobi4me
Making your own scrubs is a great foundation, but a complete natural skincare routine needs a few reliable products alongside your DIY creations. Jermaphobi4me carries Maiden For Her plant-based wet wipes, which are pH-balanced, eco-friendly, and gentle enough to use before or after exfoliation without disrupting your skin barrier. They are a practical complement to any homemade scrub routine, especially on days when a full shower is not possible. Browse the top-selling natural care collection to find products that align with the same clean, ingredient-conscious philosophy behind every scrub you make at home.
FAQ
What is the best natural exfoliant for sensitive skin?
Brown sugar is the best natural exfoliant for sensitive skin because it acts as a mild glycolic acid source and dissolves faster than salt, reducing the risk of irritation.
How long does a homemade body scrub last?
A homemade scrub without preservatives lasts up to one month when stored in an airtight container in the refrigerator. Water contamination shortens that shelf life significantly.
How often should you use a natural body scrub?
Exfoliate no more than once or twice per week. More frequent use strips the skin barrier and can trigger increased oil production or redness.
Can you use a DIY body scrub on your face?
Most body scrubs are too coarse for facial skin. Use finely ground oats or a very fine sugar with a gentle carrier oil if you want to adapt a recipe for the face, and test on a small area first.
Should you moisturize after using a body scrub?
Yes. Apply a moisturizer immediately after rinsing while skin is still slightly damp. Freshly exfoliated skin absorbs hydration more effectively and needs that barrier restored after mechanical exfoliation.
Recommended
- Types of Chemical-Free Body Wash: Your 2026 Guide – Gimmi Vitality Products dba Jermacilin Store
- How to Disinfect Your Kitchen Without Harsh Bleach – Gimmi Vitality Products dba Jermacilin Store
- What Is Double Cleansing? Your Skin-Clearing Guide – Gimmi Vitality Products dba Jermacilin Store
- Maiden For Her (Plant-Based, pH Balanced, Eco-Friendly) Wet Wipes – Gimmi Vitality Products dba Jermacilin Store